Tuesday, February 8, 2011

An "Off" Day - Keeping it Tidy in Chaos

I think I have determined that I have indeed inherited my Grandma Janet's cleaning gene.  I love a tidy, clutter-free house.  But let's face it that doesn't always happen and isn't entirely realistic with kids.

I have been following the Flylady's cleaning and home organization plan.  So far it has worked out really well.  I am really seeing a difference in the house.  BUT, the true test of any good housekeeping plan is what happens when you have a totally "off" day.

Monday was that day.  We are attempting to potty train Leonard, my 2.5 year old.  My 1 year old, Isabela, is teething (molars! eek!).  Whiny baby, son who keeps peeing and pooping his pants...all at 7:00am.  Needless to say by 10:00, this was my house.


 I need some really scary movie music inserted in here.  HOW DID THIS HAPPEN?  Anyways, this totally makes me twitch.  I'm not even addressing my bathroom, bedroom or the kid's room...it's just too terrible.  I finally just had to lay down the crabby baby (who was out for the count within 2 minutes). 
 Leonard settled in with a book...

And I went into attack mode.  I didn't really know how much time I would have, but I figured anything that could get done would be helpful.

So I did an experiment.  I timed myself to see how long it would take to get my main living areas under control.  I did a quick sweep of the rooms for trash and dishes and went to work.  Here are some tips.
  • Go one room at a time.  I usually start in my kitchen, it's always the worst. DO NOT get stuck on random stuff in another room.
  • Don't try to do your entire house at once.  I usually just tackle the main living areas where we hang out most.
  • Don't just stuff things into random places.  This means more work later and it's how clutter rears it's ugly head.  Just put things where they go.
  • When you move on to your main living areas, grab a cleaning rag or disinfecting wipes to wipe smudges and other assorted grossness, and a plastic grocery bag for trash.  
When I started the clock said 10:35, I was done at 11:06.  Not too bad considering Leonard spilled his juice everywhere and that meant more cleaning...

End Product

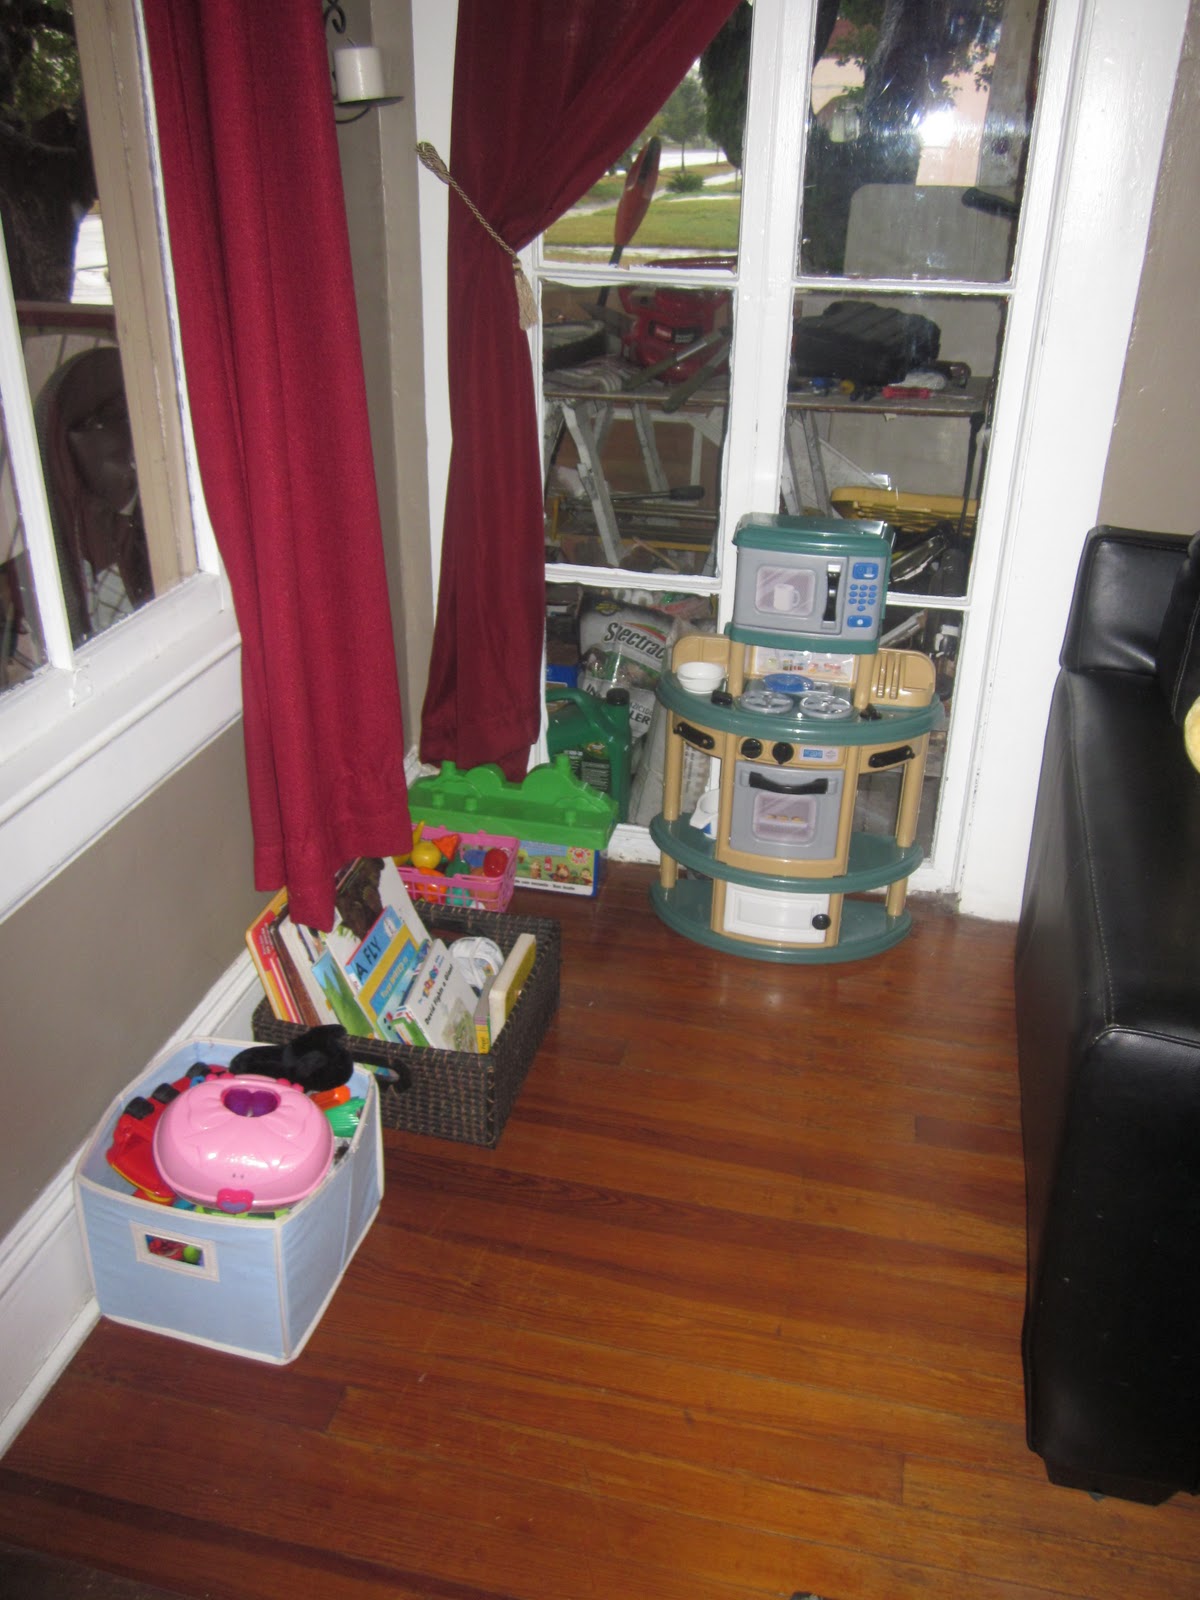
 Don't kid yourself, there will be toys in your living room.  Just have bins on hand to keep it under control.  I have a "kitchen" bin, a books bin and a random toys bin which gets taken back to their room every few days to be emptied.  Oh and my husband's work area is behind that window...yeah...working on that...


See what a difference 30 minutes makes?  Because the house has fewer clutter spots and I have been in a pretty consistent routine, the mess vanished quickly.  There wasn't even more mess under the mess if you know what I mean?

When you have these kinds of days (or maybe this is everyday?) resist the urge to plop down, veg in front of the TV or computer and recount the horrors of the morning.  Realize that by doing a quick tidy you will help prevent further chaos the rest of the day and I don't know about you, but if I am in the middle of chaos, I feel like chaos. 

Once you finish THEN have some relaxing time.  You will feel amazing and your hubby will say wow, the house looks so great even though the toddler peed his pants 8 times in one day, how do you do it!  And yep, you ARE that awesome :)

Monday, February 7, 2011

More Scrappy Fun!

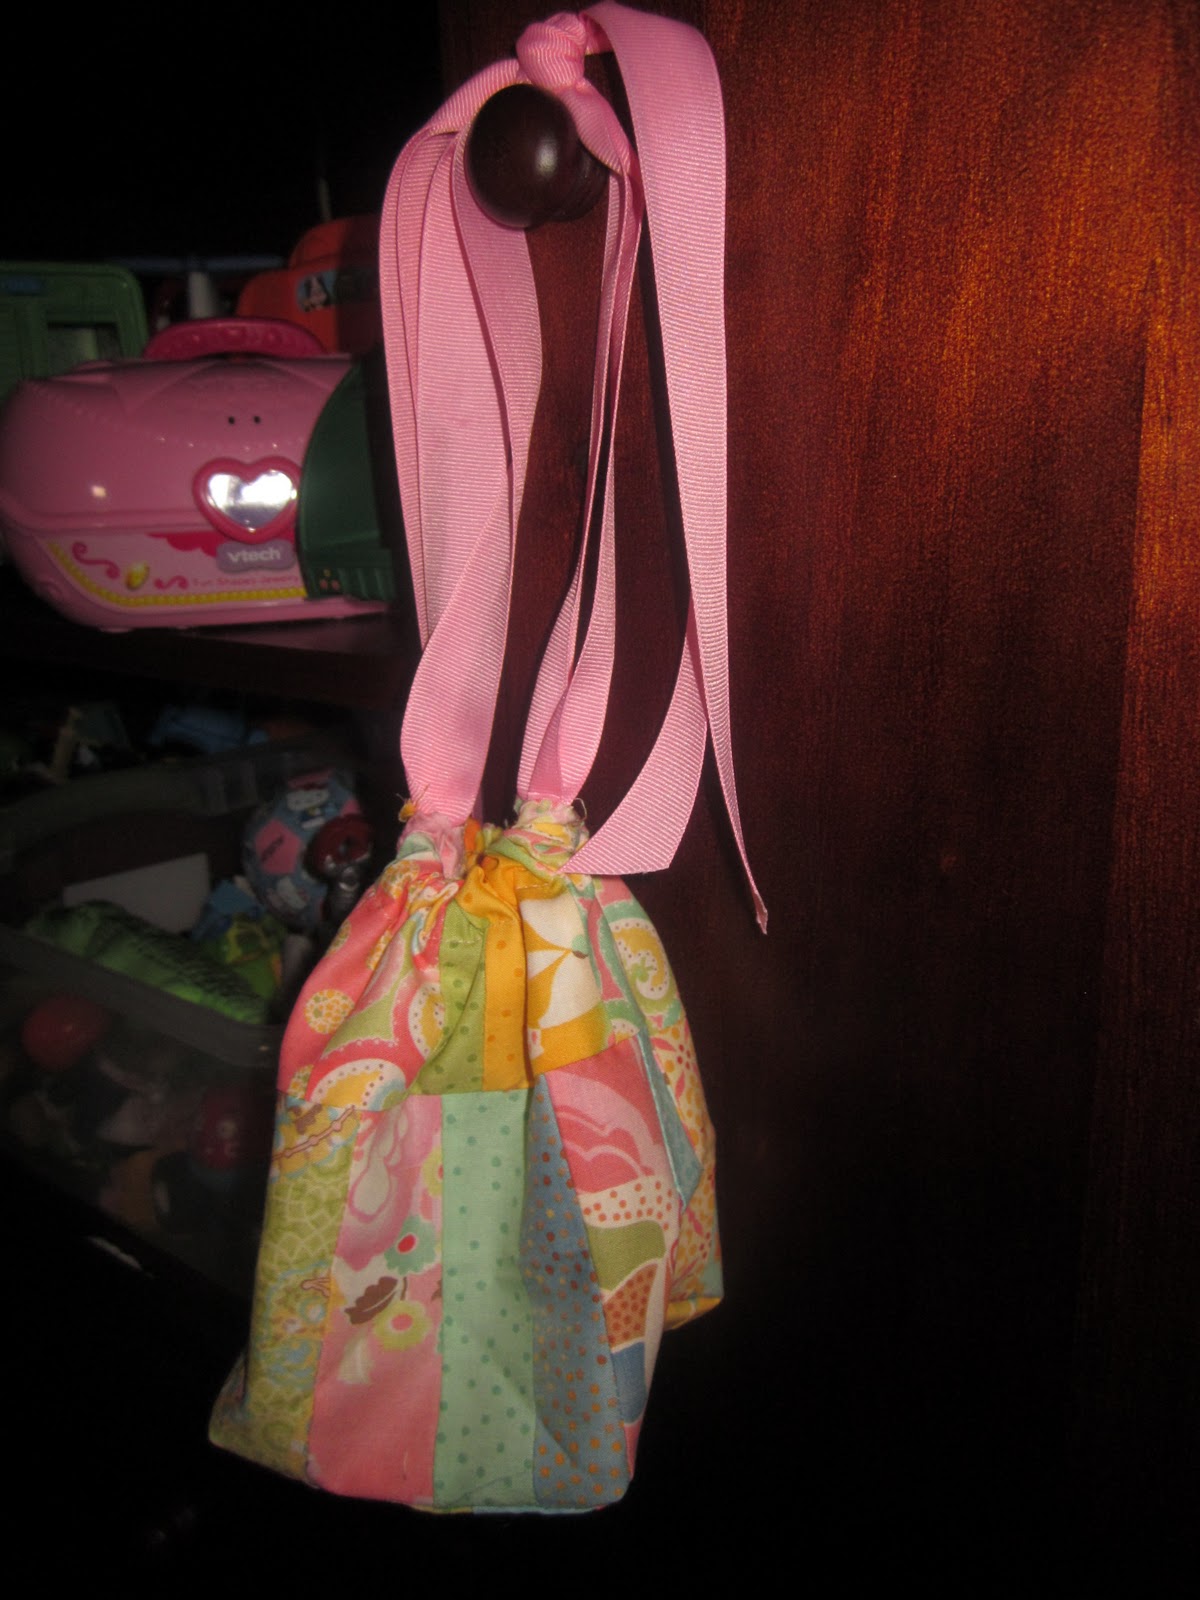
 OK, so I had this pile of squares that my mom had left over from sewing Isabela's quilt.  I can't take credit for the squares, my mom pieced them all together.  I have been wanting to make a little drawstring tote for Bela.  I used the Prudent Baby tutorial to make the bag and instead of making it a backpack, I tied the straps together to make a little satchel because that is how Bela likes to carry her purses.

I pieced the squares together the same way I did for my Scrappy Pillow.  I'm still not 100% on the straps, I'll have to think on it a bit more.
Next, I decided to use the squares to put a pretty trim on an old hand towel with frayed edges. 
I couldn't necessarily call this a proper tutorial because it took a little trial and error.  I couldn't give you exact measurements, but you will get the basic idea.

I first took my strip and laid it with the right side down about 1.5 inches up from the bottom.  Since you are sewing a towel, play it safe and switch your needle to a heavy duty needle.  I then sewed a straight stitch across leaving a 1/4 inch seam allowance.


Flip the fabric to the back side and fold the edge under and tuck in the sides.  Make sure that the fabric is even on both sides.  Iron flat and then sew along the edge.  Make sure to catch the edge on both sides.  This essentially top-stitches the opposite side.

 This is what it will look like


 Hang in your bathroom and smile because you're so smart and crafty :)

Scrappy Pillow Tutorial

I was really surprised at how many of you just loved the scrappy pillow.  A couple of you asked for a tute, so here it is.

What you need
Handful of fabric scraps
Fabric for the back of your pillow (mine is 12 1/2 x 12 1/2 inches)
Sewing essentials
Pillow filling or a pillow form
Iron and ironing board

My scrappy pillow is a 12x12 pillow.  So this tute is based on those measurements.  If you are filling with stuffing from a bag, you don't have to be incredibly precise with your measurements.  If you are stuffing it with an insert you need to measure your fabric to the size of the pillow plus 1/4 inch for seam allowance.  So for my 12x12 pillow I am making my pieces 12 1/2 x 12 1/2 inches.

Now for the strips.  I didn't try to be all themed or matchy with mine, just use whatever you have.  Pick out your fabric and start by cutting your strips.  My strips are 12 1/2 inches long.  For width, be totally random, 1 inch, 2 inch, 1 1/2 inches.  Remember you need a seam allowance of 1/4 inch.  Cut however many you think you will need
Now for the fun.  Piecing them together :)

Grab two strips with right sides facing.  Sew a straight stitch down one side using the appropriate seam allowance.
Open your pieces up and iron nice and smooth. 
 Place another piece (right sides facing) on top of one of your sewn pieces.  Repeat above process.  Just keep adding to the outside.  Keep your measuring tape handy so you can check when you have enough.  If you are a little short, just add another piece, you can always trim it down.


 Ok, this is where the photos end.

But, this is the no brainer part.

Grab your back piece and put your two pieces together right sides facing.  Make sure your edges are nice and even, it makes it easier to sew in a straight line :)  

Sew the pieces together on the edge leaving a 1/4 inch seam allowance.  Leave an opening to stuff your pillow, you will need a pretty good size opening if you have a pillow form.  Clip the corners off (just dont clip off the stitches!), this will give you nice pretty corners.  Turn your pillowcase right side out and push the corners out.  Stuff.

Use a needle and thread to sew the opening.  Just fold the edges in evenly and stitch together.  Or you can be like me and shove your pillow onto your sewing machine and sew it (HAHA!).  Place the weird sewn side down when positioning on your sofa and no one will know!  Cheater Cheater...I know!

Use this method to make all kinds of pillows.  Here is a great, simple tutorial for making a pillow cover (with cute trim to boot!) or envelope style pillow cover. 

I hope this made some sense!  If you have any questions, just leave a comment and I promise to help :)

Friday, February 4, 2011

Random Acts of Craftiness

It was just one of those days where something just had to be made.  The kids were taking forever long naps and I just couldn't sit still to read, so here's what I made today :)

I also have one of those big re-usable Joann shopping bags FULL of fabric scraps...seriously...how does that happen?  I have seen scrap pillows on a couple different blogs and I need some tiny pops of color in my living room so a bunch of mis-matched scrap pillows seemed like a good idea :)  Plus, all that piecing together is really time consuming, which keeps me from eating the entire contents of my fridge on boring days like this :)

Come on now, don't pretend that you don't know what I'm talking about.

 So this wee pillow does have a twin, but I ran out of stuffing.  There was no rhyme or reason to my fabric selections, it's just random.  The back is made of what was left of my thrift store tablecloth find.  It's a definitely a random bit of loveliness, but lovely all the same.  Looking at it reminds me of all the fun (and really horrid looking) things I have made so far in my sewing journey.

I picked up some cheap fabric to play around with.  You can't beat the $1.50/yd pile at Wal-Mart.  I wasn't really going for stellar quality but I was pleasantly surprised with this fabric that I picked up.  It actually has a nice weight to it.

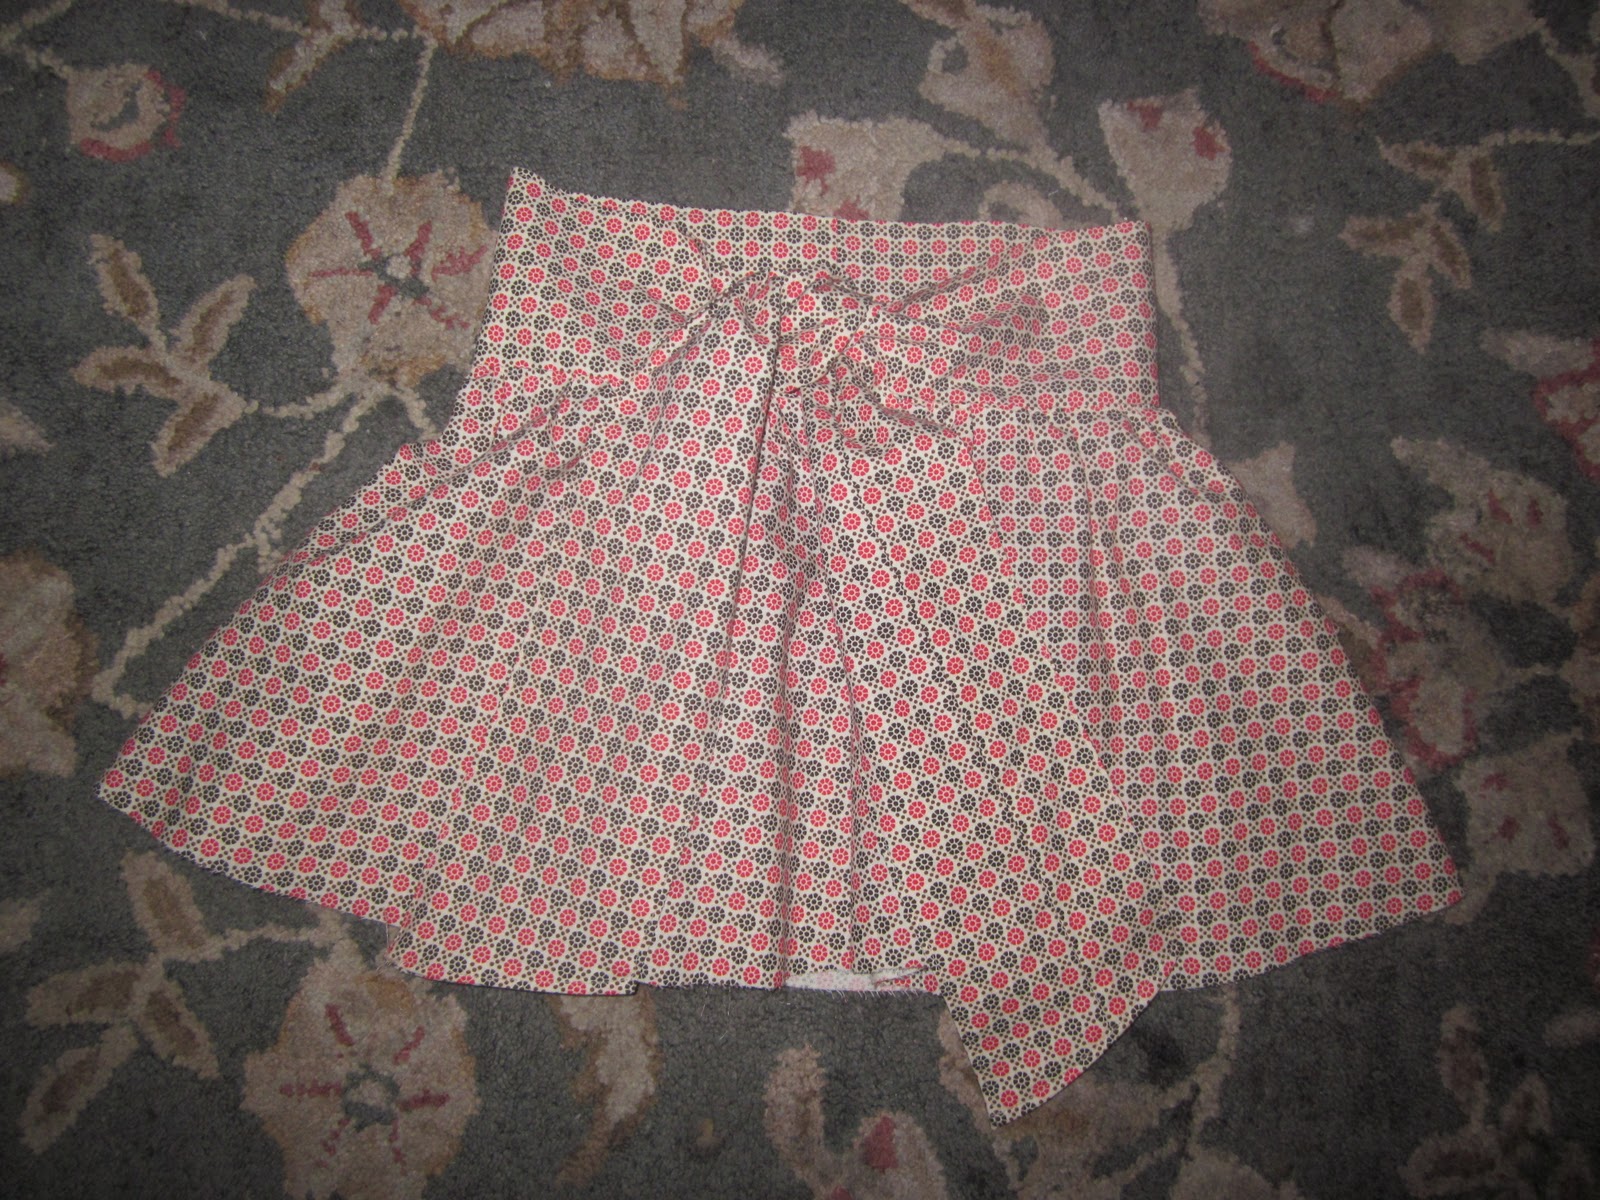
Anyways, I had no idea what to do with it and I toyed with the idea of another go at this Burda pattern I have.  I did complete one of two attempts at it (loads of gorgeous designer fabric cut improperly), but that took me 2 months, so I had a brain storm and decided to use the bottom "skirt" part, put a thick sash on it and make a cute little skirt with a tie in the back.

Tada!

I think it turned out really lovely, I cannot wait for Bela to be able to wear it somewhere!  I plan on making a matching bow tie for Lenny, since this isn't super girly fabric.

Anyways, I had fun today creating, have a fabulous weekend everyone!

Wednesday, February 2, 2011

An AHA! Moment

If you are following the Flylady, then you know we are in Zone 1, which is the front entrance, front porch and dining room.  Since my LR and DR is all kind of one room I do Zone 5 and 1 together.  If you aren't cleaning the Flylady way, get on board!

I had an AHA! moment when I was cleaning my ceiling fan and dusting the window sills.  They weren't really dusty.  AHA!  This thing really does work!  When I first started it took a bucket of cleaner and water to clean my sills.  Today it took a couple clorox wipes.  First time took a LOOONG time.  Today took less than 10 minutes and I even took the glass cover thing off the ceiling fan and cleaned it.

Point is...the sweat in the beginning of this REALLY pays off.  The de-cluttering, the shining the sink, all of this results in LESS TIME CLEANING.  Wow :)

Even my room, which is the biggest de-cluttering project, is looking better.  My kitchen is rarely dirty, which is a miracle, even the time over the weekend where I got a bit off track, it took no time at all to get things back in order.

 Here is my living room :)  This took no time to clean even though the kids had been playing in here.
My yet-to-be-cleaned dining room.  See.  Not that bad.

It is totally possible to get on top of the house craziness!  So let's get started!  Head over to Flylady and get started by shining that sink!  Off to clean my DR and tidy my laundry room!

What's for Dinner Wednesday?

I am sure I have mentioned before how much I love Rachael Ray.  This is one of my favorite cookbooks by her, go pick up a copy, I promise you will wear it out!  We did a SUPER yummy Rachael Ray recipe with shrimp last night and tonight we are doing one of my faves, Balsamic Glazed Chicken and Garlic Rice Pilaf.  This recipe also includes yummy slices of smoked mozzarella, but I'm watching the evil cals so I'm omitting it today.

I was going to go ahead and cook it up, but alas, I am out of thyme and you CANNOT do this without thyme. But I am still gonna give you the recipe :)  I was really hoping it was on her site...but looks like I am typing it out today.

This is one of those recipes where she takes a base recipe, then does it a couple different ways.  In the book she does the balsamic glaze on pork chops, chicken and swordfish.  Each is paired with something different that compliments the meat.

Balsamic Glazed Chicken with Smoke Mozzarella and Garlic Rice Pilaf

3 TBL cold unsalted butter
1 bx of rice pilaf mix
3 TBL EVOO
4 boneless skinless chicken breasts
1 small onion, chopped
1 TBL fresh thyme, chopped
1 sprig fresh rosemary
5 garlic cloves (3 for sauce, 2 for your rice)
1/4 cup balsamic vinegar
2 TBL honey
2 tomatoes, sliced
8 thin slices of fresh smoke mozzarella
Fresh basil leaves

Start out with your rice mix.  Start melting 1 TBL of the butter and add 2 cloves of the minced garlic and saute for about a minute.  Continue cooking the rice according to the instructions on the box.

Heat up your EVOO in a large skillet (med-high heat) and season your chicken with some salt and pepper.  Add to the hot skillet.  Cook for about 6 minutes on each side.

Transfer chicken to a platter and cover with foil.  Go back to the plan and add another TBL of EVOO, the onions, thyme, rosemary and the remaining garlic.  Saute 4-5 minutes (this part smells so good!).  Add the balsamic vinegar, honey and chicken stock.  Cook until liquids have reduced by half (good time to start cleaning up). 

After the liquids have reduced, turn off the heat and add the remaining 2 TBL of cold butter.  Stir until it melts.  Add the chicken to the pan and coat in the glaze.  Sometimes I'll leave the heat on medium for this part.  Layer your chicken with alternating layers of tomato, mozzarella, and basil. Drizzle a little EVOO and some salt and pepper and you're done!

Serve with the rice and a salad.

It does seem like a lot, but remember:
  • Gather ALL ingredients first.
  • Use a trash bowl
  • Do all chopping/ cutting before you start cooking
  • Clean as you go.
Everyone enjoy!

Tuesday, February 1, 2011

Devotional - A Student of His Emotions

I have been reading After God's Own Heart by Mike Bickle in addition to the Beth Moore study I have been doing with some women at my church.  I had a few moments this morning (kid-free) to read and was just blessed and rejuvenated by the small portion I was able to read today.

Several times in the book he refers to David being a student of the emotions of God.  David was so fascinated by God that he spent his time really seeking and studying the heart of God.  This really tied into what I read today about "beholding and becoming".  2 Corinthians 3:18 says:

But we all with an unveiled face, beholding as in a mirror the glory of the Lord, are being transformed into the same image from glory to glory, just as by the Spirit of the Lord.
I have probably read this verse a thousand times and heard numerous messages on it, but it really spoke to me this morning.  It is so simple and completely describes how we can have a heart after God like David did.  As we behold the Lord and connect with His emotions, we begin to change into that very image that we see.  It sounds really simple, but think about it, it kind of wows me.  To think that we have the opportunity to observe and experience the love of such an amazing God, that he would permit us to see His face.  And why? because He knows that when we see Him, we will become like Him! Sweet!

This other excerpt really spoke to me as well:
 Simply stated, whatever we behold or understand about God's heart toward us - that's what we become in our hearts toward God.  If we behold a mean and stingy God, we will become mean and stingy.  But if we behold His glory, as Paul wrote, the Holy Spirit transforms us into something glorious.
 This really made me examine my own view of who God is.  It made me wonder if I am holding views of God that are not who He really is.  It  is really something to sit and chew on.
It sounds really simple to have a heart after God.  The CONCEPT is simple but execution is difficult because of how much everything else pulls at us.  Sometimes we forget that it is not always about doing, but its about simply looking into His face.  That totally goes against what culture tells us, but it is the way to the heart of God. 

Okay, now one more little excerpt, this rocks my socks!
The secret to having more love - or peace or joy or faith or any fruit of the Spirit - is enjoying God more.
 Good stuff!