Showing posts with label sewing projects. Show all posts

Tuesday, July 12, 2011

In Progress - The Scrappy Denim Applique Quilt

So when I was in KC, my mom took me to a really neat quilting store. It was amazing the quilts they had in the store and all the cool sewing notions and fabric.

It got me to thinking about my inability to take on a project that takes more than 2 sittings to complete. Like I prefer ones that take less than 2 hours. I have sewing ADD and I get bored FAST. Like I can't even stand to look at the same color thread on my sewing machine for too long. It's pretty bad.

About the same time, I was confronted with the huge stash of big random pieces of fabric that I have that are big, but yet too small to make anything other than 1,000 zippered pouches or every kind of fabric flower imaginable. 
 After it was all said and done, it ended up being far worse than this meager stack of fabric.

I needed a real project.
Or at least a way in which to purge enough fabric so my husband will let me buy all the amazing new fabric that I've been eyeballing :)
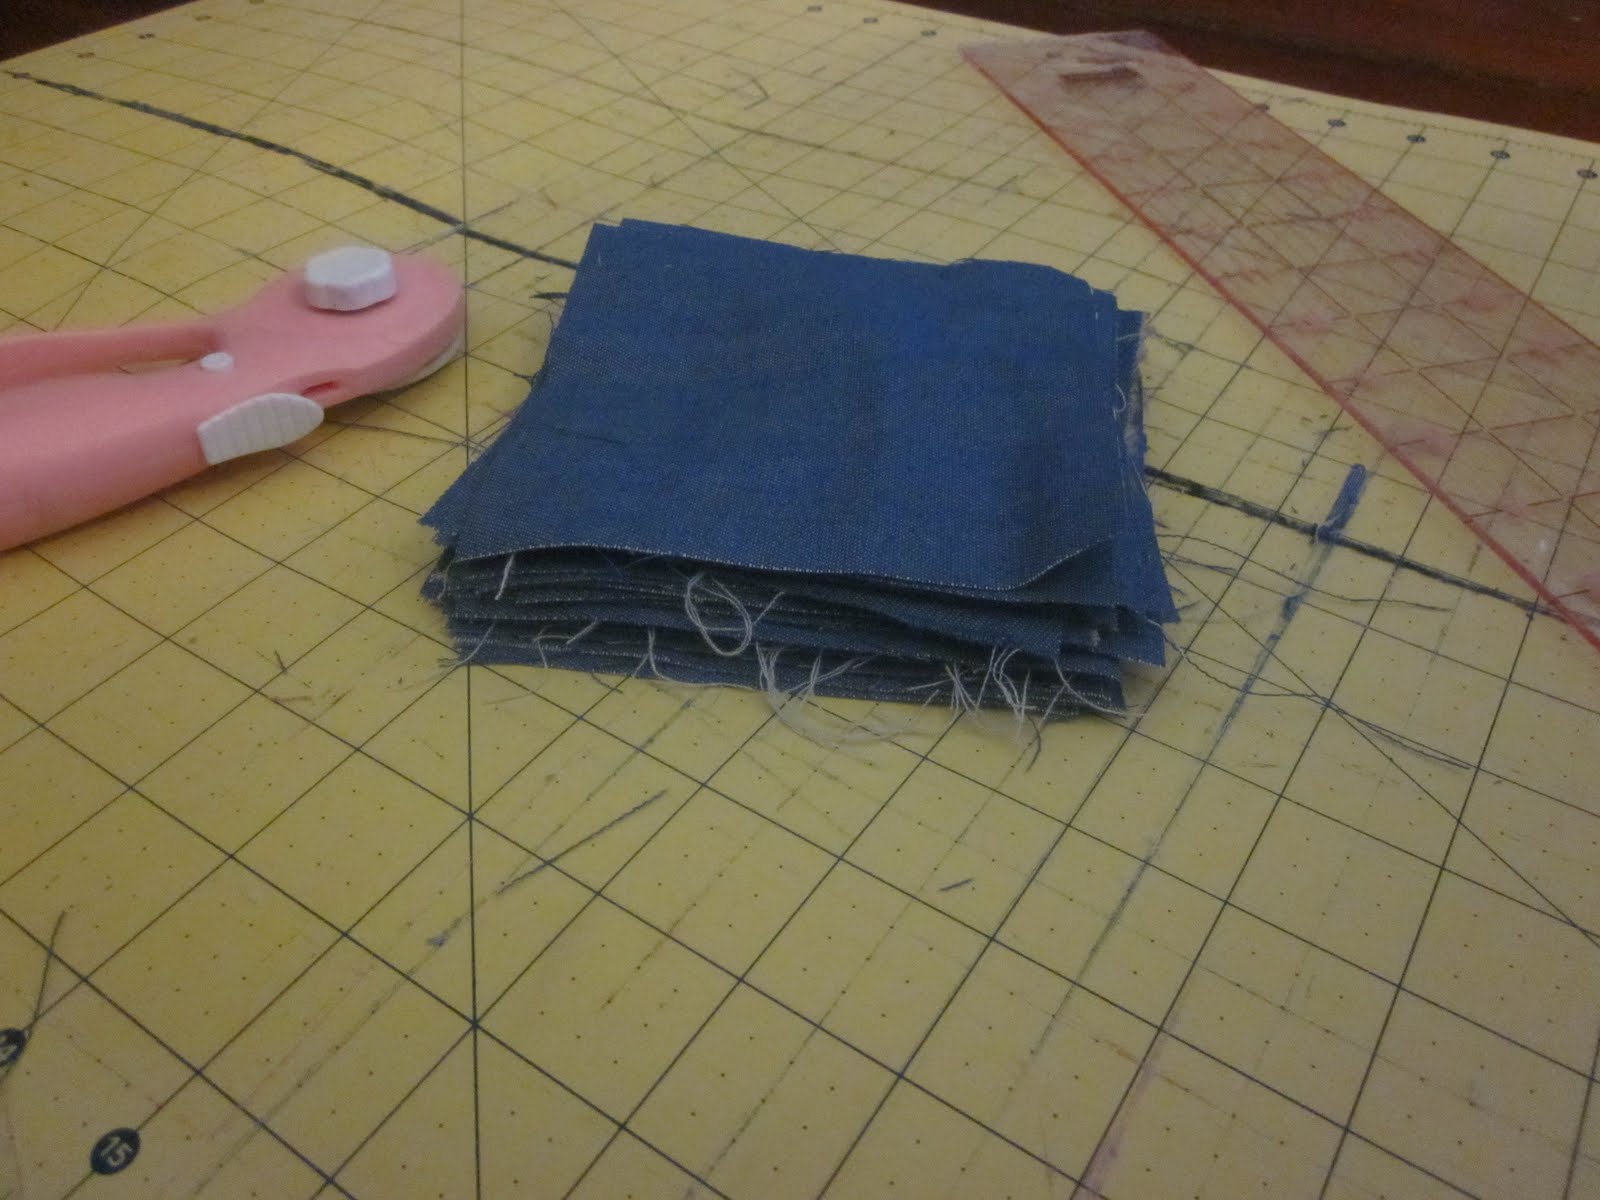
 Enter these charming little denim squares.

I had a little idea to make a simple 4 square quilt using one denim square in each square that had a little applique on it. I LOVE playing with fusible web stuff so this was perfect.

I ended up with 30 4.5x4.5 in squares. So doing the quilt 6 squares by 5 squares I get a 40x48 inch quilt. Really small and perfect for my first venture.

So here is what I have discovered.

#1 I need new blades for my rotary cutter.
#2 I also need a new cutting mat (there is literally a GASH in my mat)
#3 This is probably going to take a while. So I have therefore given myself a 1 month deadline on this project.

 If you have never tried to put 4 squares together, just sew together, RS facing along one side.
 I am trying pressing the seams out like this. It make the seams really flat.
 Take two of your 2 square pieces and put them RS facing and sew along one long side and press open and voila, a big square.
This is basically the gist of what its going to look like (Only have 7 complete squares at this point so not much to show.) 

I have to admit it's a little wonky looking and ridiculous at this point, I am thinking the most likely name for this quilt would be "Kitsch on crack". 

But who knows? This is just scraps after all.
If you are going to venture into quilting, pick up a quilting foot. This is the one for my machine. It makes those 1/4 inch seams a breeze!

Oh before you go, check out my awesome rig for my sewing machine pedal.
 Have you ever been at your machine sewing for a long time and the top of your foot starts killing? Well it's because your foot is locked at a funny angle and you are killing that muscle on the top of your foot. This totally ghetto prop puts my foot in a more natural position, so no foot cramps. Yay! I am sure there is a cuter way to do this, or pedals that don't make your foot do this, but this is free and it works!

So I have my work cut out for me. And it's possible this could be the most hideous quilt ever, but I have to say, my points are looking super awesome and even so I don't really care :)

Friday, June 24, 2011

Cutesy Up Your PJs

Well, your kid's PJs at least. My little one was in desperate need of some PJs so of course that presented a great opportunity to SEW :)

I have always used the same pajama pant pattern. It is Simplicity 2734It is actually simple and they go together super easy. I haven't done the top yet because I really have issues sewing knits, but from the looks of the pattern, it's Erin-Proof :)

For the top I just picked up a pack of toddler camis at Walmart. I wanted to do something cute on them and putting a little applique on a little top (or anything) is super easy. It's not a new idea, but a little bit of fusible bonding web can go a long way for lots of fun! Just don't go crazy and start ironing little hearts to your designer jeans.

It's really easy to go online and find templates for all kinds of shapes and designs 

 I ironed on pieces of fusible bonding web to the fabric I wanted to use. Then I traced the designs directly on the paper side of the bonding web.
 I then cut them out :)
You essentially have an iron on applique now. Iron on according to the instructions and sew around the edges. I started out with something simple because I am not the best at sewing in circles but it actually turned out pretty cute.

 Now I have cute PJs for my little girly.

Not original by any means, but it's really a fun way to use up your scraps and make something plain, fun. Now go get some fusible bonding web and start ironing!

Wednesday, June 22, 2011

Peplum Play Outfit

I actually finished this outfit the other day and just had to make the buttonholes and sew the buttons on today.  I found the top in my One Yard Wonders book.  I have to give a glowing recommendation to this book.  I have made 4 pieces in it and I love how simple everything is and how clean and well finished all the items turn out. 

I even HAND STITCHED the inside of the top where you take the raw edge where the ruffle meets the top, tuck it in and hide it in the lining. It called for a slipstitch and I was about 2 seconds from just top-stitching it in my machine, but I am so glad I did it the way the directions asked. The inside of the top is just as lovely as the outside.

The capri pants are just a Simplicity PJ pants pattern that I made into capris.  I seem to make Bela a lot of dresses, but she needs more things she can play in and this is super comfy and perfect for playtime :)

The peplum is just a fancy word for a ruffle on the waist.  This top has the ruffle just at the hips, which is so darling.
 The fabric is another Walmart special ;)

Excuse the mess. We are getting rid of Alexa's Barbie things and this is the random tiny pieces throw away pile.
 Just because I like the expression on her face.
 I don't know why I don't do indoor shoots in here more often. It gets amazing sunlight (tons of windows) and the wall color is so fun!
 Fuzzy...but we had to get Lenny in too.

I think I will be making quite a few more tops like this because they are really easy and just perfect for summer :) Try going through your patterns and putting something new together. It's really a lot of fun!

Wednesday, May 11, 2011

A Bit of Denim Fun

I've had this yard of lightweight denim for a while with the intention of making this Paper Bag Skirt from A Lemon Squeezy Home which is a wonderful blog if you aren't following it already.

I opted out of the beltloops, but after seeing it on Bela, I think I might do them after all and make belts to coordinate with her outfits. 

It's still turned turned out really cute.  I didn't do contrasting pockets because I want this to go with anything. This was a really easy project.  The pockets take longer than the actual skirt construction.  I need an embroidery machine because I think her initials or something would be so cute embroidered on one of the pockets :)

 Little Miss Thang is not the most cooperative model. I wanted to get some great "brother-sister" shots, but Leonard proceeded to have a pee-pee accident about 2 minutes after I took these photos.
 She is mad at me because I am snapping photos and not putting her in the swing promptly.
 The real miracle is that this hairstyle lasted till 11am.
 Lightweight for spring and easy to play in too!
I know I am biased...but she is just so lovely :) Even if she has the attitude to go with that red hair :)

Tuesday, May 3, 2011

Fun Little Jumper

So I FINALLY finished the second project from my One Yard Wonders book.  This one gave me a few problems, mostly because I over-complicated the instructions, didn't read things and because I am a ditz. HAHA!

My main problem is that I keep buying unidirectional patterns.  Meaning that it has patterns that go ONE WAY.  I need to pay more attention to this when buying fabric.  I mean, it is IN THE DIRECTIONS.  Not for use with unidirectional patterns...my blonde roots show...a lot.

The first problem was, I sewed the wrong sides together for the skirt.  Instead of the shorter sides, I sewed the long sides.  When I went to sew the top band on I had issues because DUH, the back and front GATHER!  So I had to take it apart.  Then I sewed the straps on wrong (THREE times).  Amazingly enough, I did the buttonholes perfect the first time!  What should have taken an hour...took me two days...but that's ok :) 

Aside from the issues.  It's a very easy dress to make and what I love the most about this book is how nicely everything is finished in the end.  I am learning lots :)

I'd be happy to post the directions with little tips on how to NOT do it completely wrong :) but let me know what you all think first :)


So my next venture is tackling the yard of lightweight denim I bought for a paperbag skirt and maybe some shorts, still looking for the right tutorial...

Wednesday, April 20, 2011

Crafting Recap

I was finally going through all my sewing stuff and realized that there were quite a few projects that I hadn't shown on my blog.  I so wish to be one of those awesome craft bloggers that comes up with amazing projects on their own...but I am usually using other people's tutorials and combining random patterns together.  Sometimes it works...most of the time not, so here is what has worked.  I have all the links so you can make your own too :)


This is probably the tiniest pillowcase dress I have ever made (fabric is by Anthology and Kumari Garden for Dena Designs).  It's a shower gift, along with these awesome burp cloths.  The back side is super soft terry cloth, perfect for mopping up huge spit-up messes!  I have been using the Prudent Baby Pillowcase Dress tute for a while now and I like it.  However, my friend recently used the Habitual pillowcase dress pattern (you can see the gorgeousness here)  so of course I have to give that one a try :)  I love the look of it and the sash is sooo lovely!


This was done using the Prudent Baby's Layer Cake Skirt tute.  It turned out great except I was attempting to make it a bit smaller for Bela and it turned out too short.  So if anyone is interested...it's available!  I love this Joel Dewberry fabric too much to not see it on some other cutie!

This little top turned out sooo much cuter than I anticipated.  I didn't have enough to make a dress so I made a spin off of a peasant top.  It is so cute on my little Bela.  One of those rare moments when one of my "genius" ideas actually works.  Again using Anthology and Kumari Garden fabrics.  Not giving this one away :)

I think I showed you all the bow-tie for my son's easter outfit.  Here is the little coordinating clip I made for Bela.  It's hard to see the details but its a fabric yoyo with some trim and a fabric covered button.  Turned out way cute!  I used this tute for the fabric yoyos.  Super easy and you can do soooo much with them.  So go and make a whole bunch!


This is a horrid pic, but I am in LOVE with this dress.  Another great Prudent Baby tutorial.  My only problem was actually making the pattern.  It's lots of angles and I'm still not sure I got it quite right.  I also discovered AFTER making the dress that I cut the hem completely crooked (easy fix) AND I used the fabric upside down (can't fix).  It's not obvious when it is on...still it's completely adorable and I want to make several more...maybe even a top version :)

So just because I'm me, no blog post would be complete without some sort of major mess-up on my part...I ended up purchasing MORE of the lovely Tanya Whelan fabric I used for my kid's easter-wear accessories...


 I had plans to make this adorable pinafore that was in a sewing book I recently purchased...well they have these handy diagrams of EXACTLY how to lay out the patterns to minimize waste.  Well instead of just folding the fabric up 8 inches for the bodice pieces, I folded it in half.  So now I don't have enough for the skirt part of the pinafore...ugh!  Seriously!  I was so meticulous in laying out and cutting everything!  So who knows what will happen with these...

So this cutie-patooty project is on hold until more fabric can be bought :(

So that is all for now.  I hope you all got some links to some fun new projects and enjoy laughing at my crafting misfortunes!