

I am actually really excited about this because I had an idea and it actually worked! That never happens to me. It's incredibly simple and you could really do anything once you get some ideas going. So here is my Toddler Sack Dress from a Women's Dress Tutorial :)
This dress was about to go to Goodwill. But I had a stroke of genius and cut the top off and an idea was born :)

This dress has this really pretty scalloping on the hem :)
Ok, so before you get started you need a few measurements from your wee one.
Chest + 1 inch
From front of armpit, over shoulder and right above armpit in back + 2 inches
Length you want the dress to be + a couple inches to make the casing for the elastic

You will also need to cut some pieces for the straps. Mine are 2 1/2 in. x 9 inches.

After I cut the dress roughly in half I cut it to the length I wanted all nice and straight. This dress had a zipper in the back and since the dress was lined it cut out easily. If you can't get a zipper out without cutting, just stitch it back up.

Fold and press the top edge under about a quarter of an inch, than an inch or so to make the casing. Sew close to the bottom edge leaving an opening for the elastic.
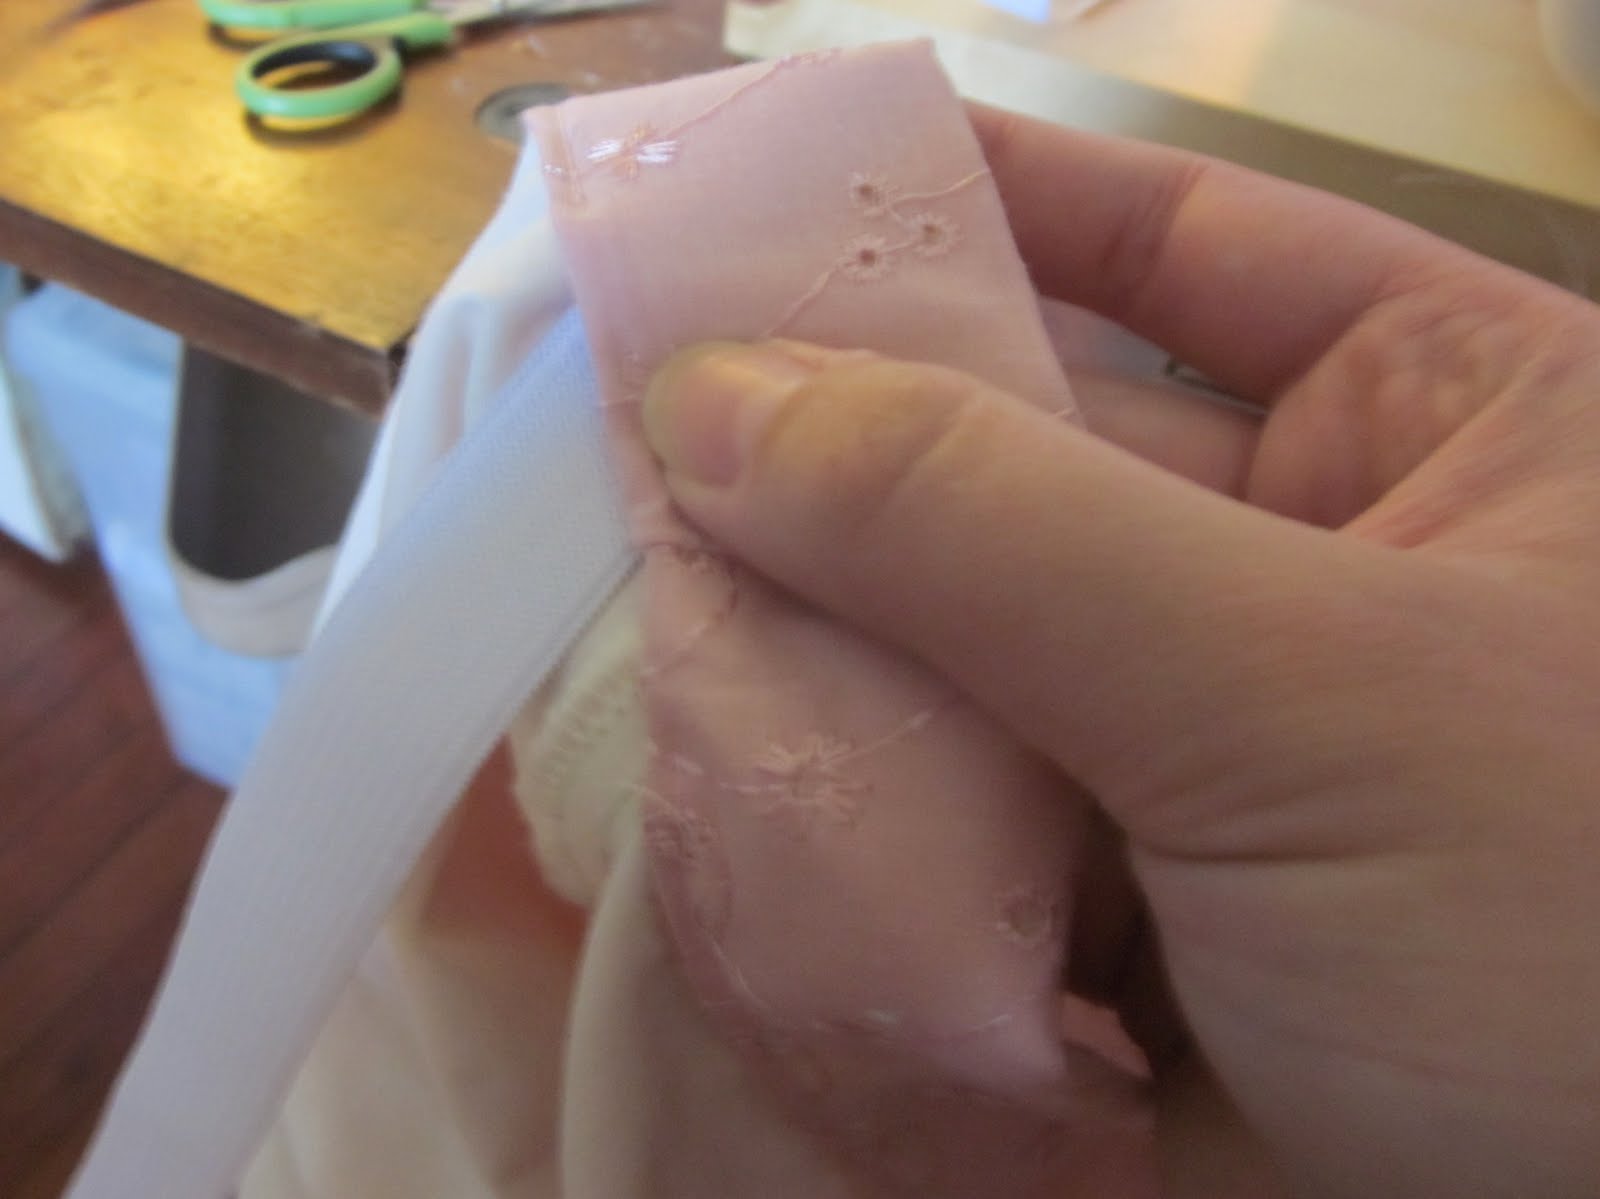
Then pull the casing through using a safety pin.

Pull both ends of elastic out and zig zag stitch a few times back and forth to secure. Sew your opening closed. Distribute gathers evenly.

At this point I realized, "Hey! This could be a skirt for me!" But back to the actual project...
The strap part isn't difficult, just wordy.

Like any other strap, just fold in half right sides facing and sew along edge, turn right side out and press.

I added a topstitch along the sides to give more stability
Laying your dress flat, measure 2.5-3 inches from the sides and pin the straps in place. I tucked a small bit under too. I pinned them an inch down. Make sense?
Now I tried a couple ways to secure and I found the best way was to make sure your thread really watches well and leaving the gathers in tact, sew a vertical line down either side. The stitches literally disappear in all the gathers.

Don't worry about stitching on the elastic. It will not effect how stretchy the top is. It does help you out by securing the elastic so it won't twist :-)
That's pretty much it. I grabbed some contrasting fabric and made a fabric flower to give it some flair :)

Bela is normally not quite so cooperative...but she did pretty good for this shoot :)

Poor Lenny always gets the short end of the stick with sewing projects, but he sure is cute sporting some duds from The Children's Place that I got super on sale and some Converses :)
Enjoy! If something didn't make sense, just ask :)
8 comments:
Super cute! Adding this to the list for when Sarah is a little older. It's very whimsical. She's like a fairy! :-) Cute!
Too CUTE! Brilliant idea! (Only sorry I didn't get to buy your dress at the Goodwill. HA!)
That is so cute!!! Excellent job!
LOVE this! You did a great job and the photos are awesome as well!
That is so freaking cute. You come up with some great ideas.
So Pretty!!!! I love it and it's the perfect dress for Bella - it's very her. Great Job mamma!
LOVE the dress..
Love how half way through you thought "this could be a skirt for me"! :)
Love that you made something of yours into something for sweet Bella.
LOVE the photos.. what a precious girl you have!
She looked so super cute in the dress today!!
Post a Comment